Waxing at Home: Pro Tips for Perfect Results
Discover how to wax at home like a pro with essential tips on preparation, aftercare, and common mistakes to avoid. Get must-have product recommendations for brow waxing, bikini areas, and more. Say goodbye to razor bumps and achieve smooth skin effortlessly!
SKIN
8/6/20256 min read
Author’s Note: Yep, we’re talking about it all—from brows to bikini. Grab a comfy seat and let’s get into the (sometimes sticky) truth about waxing.
Types of Waxing: What’s Right for You?
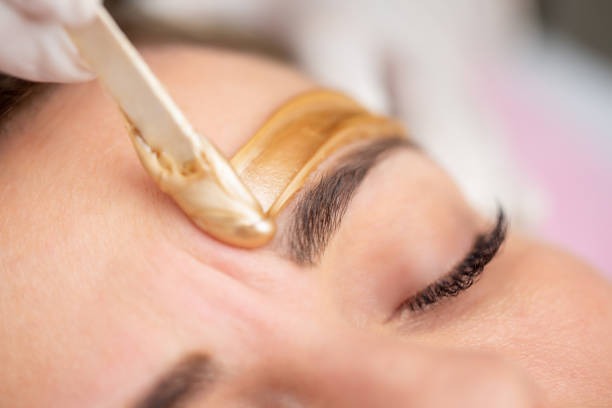
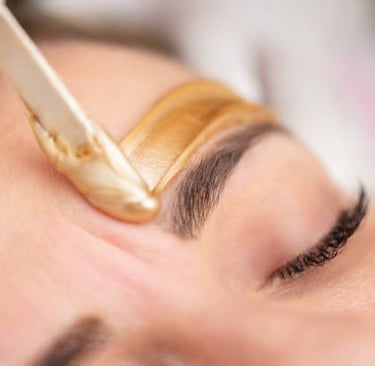
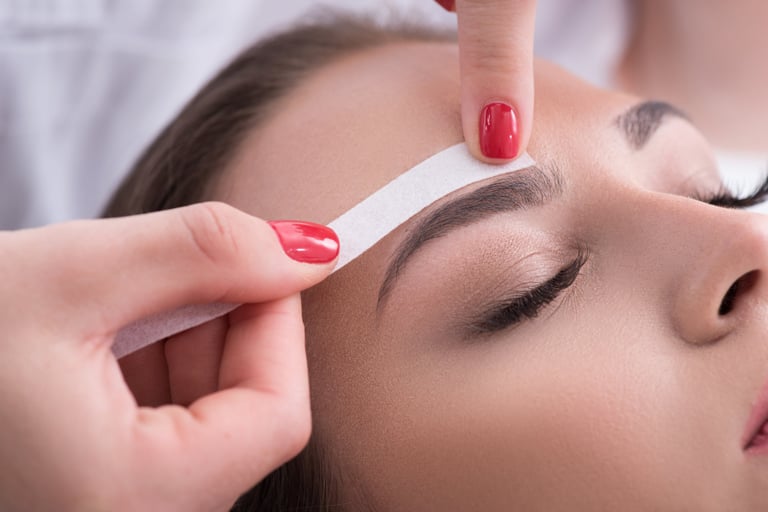
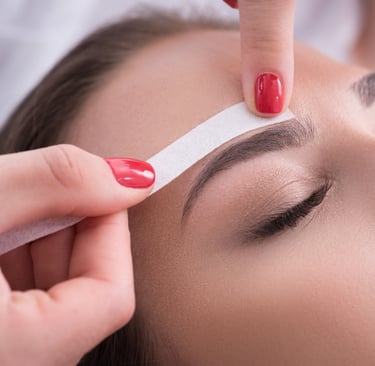
Facial Waxing (Brows, Lip, Chin)
Let’s start with the face, because if you’ve ever had your upper lip waxed, you know it’s both a beauty miracle and a rite of passage. Waxing is amazing for grabbing those fine, hard-to-see hairs that makeup tends to cling to.
Brows: Waxing gives that clean, crisp shape tweezers can't always manage. But please—go to a pro unless you’re confident with that wax stick.
Please! I beg you. Go to a professional. I've had my fair share of waxing mishaps to know, it's not worth it to do your own. One time, my best friend messed up her brows and had to shave them off! Don't be her.
Lip & Chin: Quick, effective, and smoother than shaving. Just make sure to use products meant for sensitive skin.
Bikini & Brazilian
This one needs no intro. Whether you go for a clean-up or full-on hairless, bikini waxing is popular for vacations, summer, and personal preference. Expect a little discomfort, but results that last up to 6 weeks.
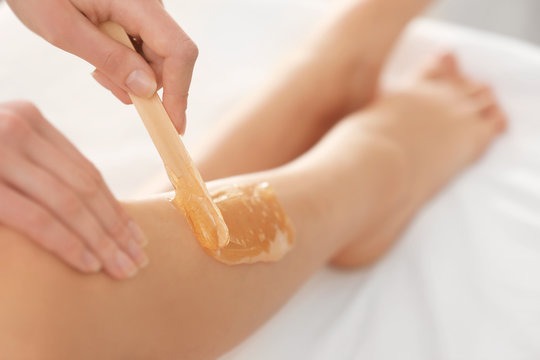
Underarms, Legs & Beyond
Body waxing is all about convenience. No more daily shaving, and less chance of razor bumps. It’s a game-changer if you’re tired of nicking yourself in the shower or dealing with stubble every 24 hours. Plus, regular waxing can actually make hair grow back finer and more slowly over time. Win-win!
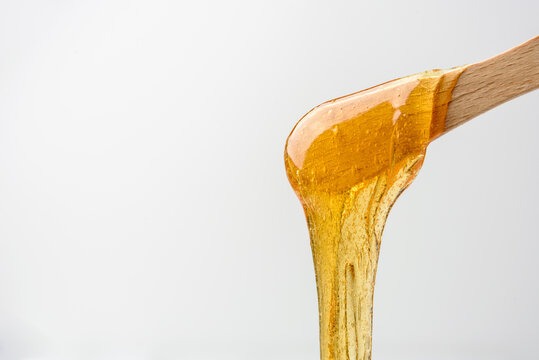
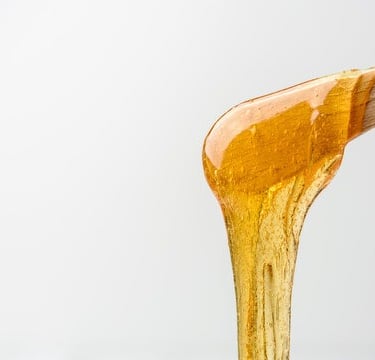
Hard Wax vs Soft Wax
Hard Wax: Best for sensitive areas like face and bikini. It hardens on its own and doesn’t require strips.
Soft Wax: Great for large areas (legs, arms) and used with cloth strips.
This post contains affiliate links. That means if you click and purchase, we may earn a small commission—at no extra cost to you.
Waxing at Home vs the Salon
DIY Waxing can be a money-saver, but it takes practice. If you're trying brows or bikini for the first time, consider leaving it to the pros.
I actually began doing my own face waxing several years ago when I got tired of paying $30 every time I needed a quick cleanup. It adds up fast! At-home waxing was a total game-changer for me—easy, affordable, and on my own time. I use a Parisian hard wax and honestly love how quick and clean the results are. It melts easily, grabs the tiniest hairs, and doesn’t irritate my skin the way some other waxes have. No more salon appointments or last-minute panic when I notice those sneaky little hairs in the car mirror. (side note: the car mirror is perfect for tweezing those new little eyebrow/chin hairs in-between waxes.)
That said, I do not mess with my brows. I happily hand those over to the pros. A good brow shape can change your whole face, and one wrong move with wax at home... well, it’s just not worth it. Trust me.
What I do love for home use:
Hard wax kit with warmer (my exact kit that I've used and loved for years!)
Just know your limits, especially when contorting like a gymnast in your bathroom mirror. (Been there.)
How to Prep Your Skin for Waxing
Proper prep is half the battle. Here’s how to get your skin ready:
Start with clean, dry skin. Wash with a gentle cleanser like Cetaphil Gentle Skin Cleanser to remove oil, makeup, and debris. Let your skin dry fully before you even think about waxing.
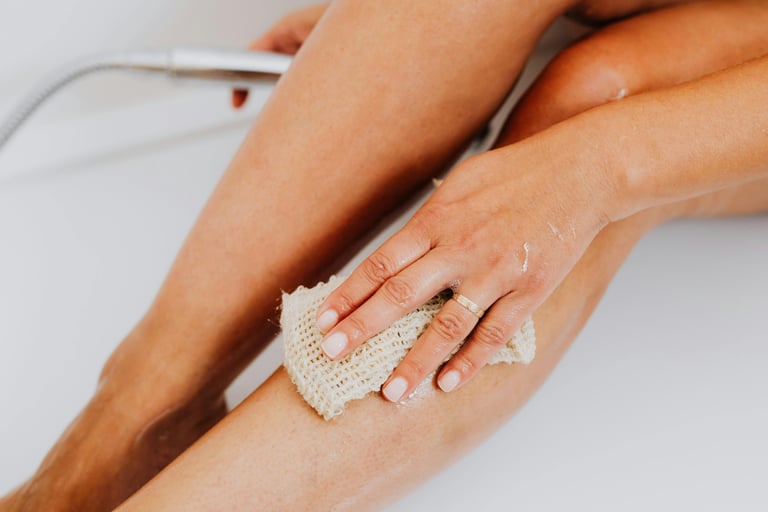
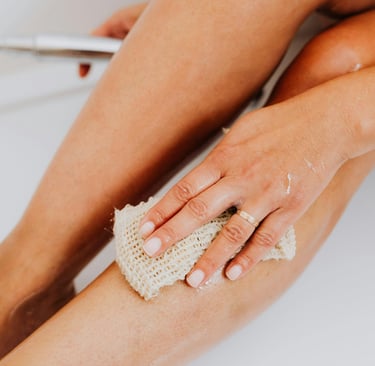
Exfoliate the day before waxing to remove dead skin cells and help the wax grip better. You can use a sugar scrub or an exfoliating mitt—just be gentle, especially on sensitive areas.
Let the hair grow to at least ¼ inch, which is about 2–4 weeks of growth for most people. For areas like the legs, you might need to wait 5–6 weeks to get the best results.
Avoid applying lotions or oils the day of your wax. These can prevent the wax from adhering properly to the hairs.
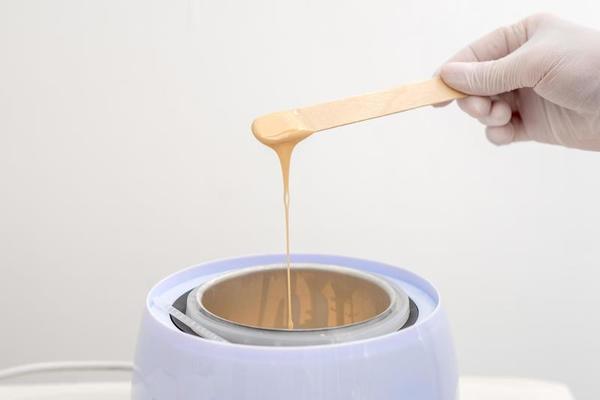
Pre-heat your wax (or wax warmer) to the right consistency. Too thick means it’s not hot enough and you’ll waste product with poor results. Too thin means it’s too hot and could scald your skin—not to mention it won’t grab the hair properly. This part takes a little practice to get just right. Start with a medium temp and adjust as needed.
Skip waxing if your skin is sunburned, broken, or overly sensitive.
Recommended Prep Products:
Numbing cream (if you're nervous)

Post-Waxing Skin Care (Don’t Skip This Part)
Waxing removes hair and top-layer skin cells, so post-wax TLC is a must. No matter where you wax—brows, bikini, or legs—your skin is going to need a little love afterward.
What to Do:
Apply aloe vera gel or a post-wax calming balm right after waxing to soothe redness or irritation.
Cold compresses or cooling gels can help calm the skin and close pores—especially helpful after a Brazilian or bikini wax.
Wear loose, breathable clothing to avoid rubbing and irritation.
Cleanse gently with fragrance-free products.
What NOT to Do:
Don’t touch the freshly waxed area with dirty hands—especially your face! It can introduce bacteria and cause breakouts.
Skip exfoliating or applying makeup on freshly waxed skin for at least 24 hours (especially brows and lip area).
Don’t use any heavily fragranced lotions or oils, and stay out of hot showers, saunas, and pools for a day or two.
Avoid tweezing between brow appointments—it can mess up your shape.
A Note for Body Waxing:
Post-wax care for areas like the arms, chest, back, or legs is pretty much the same: gentle cleanser, light moisturizer, and patience. Hold off on body scrubs for 2–3 days to let the skin recover. A little redness or bumpiness is totally normal and usually clears up within a few hours.
👉 Want more tips for calming your skin, preventing irritation, and keeping that glow? Check out our full Skin Care Guide here.
Product Recs:
Common Waxing Mistakes to Avoid
Waxing right before your period (you’re more sensitive!)
Going over the same spot repeatedly
Not stretching the skin properly while waxing
Using wax that’s too hot or too cold—the temperature matters! Too hot can burn, too cold won’t grip the hair.
Double-dipping the wax stick—just no. Always use a fresh applicator each time to avoid bacteria.
Skipping aftercare (just... don’t)
DIYing your eyebrows while sleep-deprived (ask me how I know)
Cleaning up wax the wrong way. Different waxes need different cleanup!
Sugar wax? Easy—just rinse it off with warm water and a little soap.
Resin-based wax? You’ll need oil—like baby oil or a post-wax treatment oil—to dissolve the residue. Trying to scrub resin wax off with water is just going to frustrate you and cause skin irritation (trust me, been there).
Product Recs:
Post-Wax Treatment Oil (removes wax residue)

Product Roundup
Here are the products I actually use (and link to in this post):
Waxing at Home vs the Salon
How to Prep Your Skin for Waxing
Post-Waxing Skin Care
Common Waxing Mistakes to Avoid
Post-Wax Treatment Oil (removes wax residue)
Blog Mention:


Waxing Isn’t Just Hair Removal—It’s a Whole Vibe
There’s something super empowering about feeling smooth, confident, and ready to wear whatever you want. Whether you wax everything or just touch up your brows, the beauty of waxing is that you can tailor it to what works best for you and your routine.
Just be sure to treat your skin with kindness. And maybe leave the eyebrow shaping to someone who isn’t running late and using a compact mirror in their car. (Again, ask me how I know.)
© 2025 The Beauty Vault. All Rights Reserved.
Luxury. Beauty. Unlocked.
This website may include affiliate links to various companies. When you make a purchase through these links, we may receive a small commission, at no additional cost to you.


Medical Disclaimer:
The information provided on this website is for educational purposes only and is not intended to diagnose, treat, cure, or prevent any disease. Always consult with a qualified healthcare professional before starting any new supplement, diet, or wellness program.